


 Reply With Quote
================================================== ===============================================
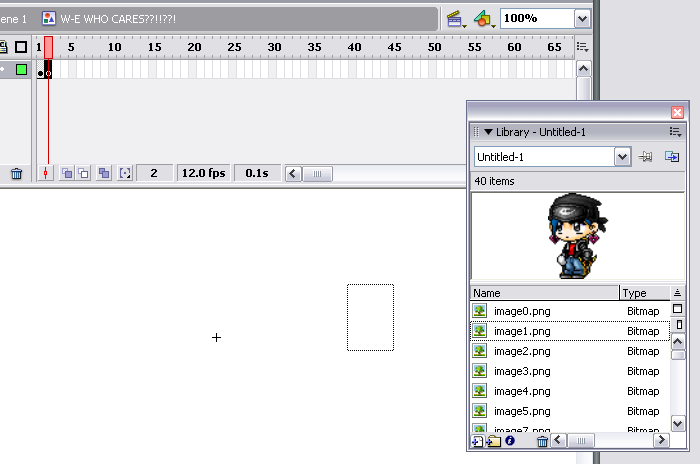
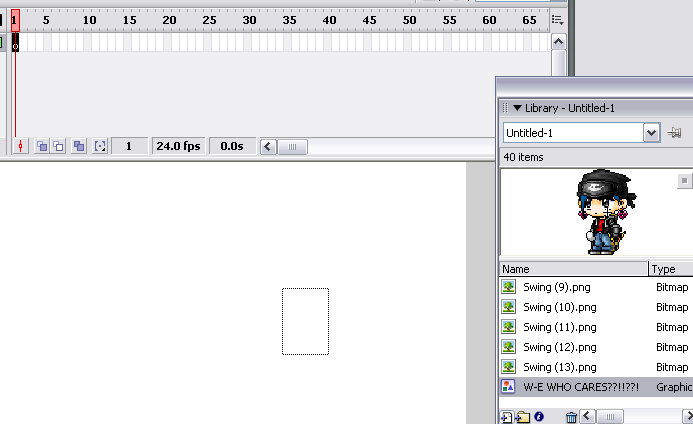
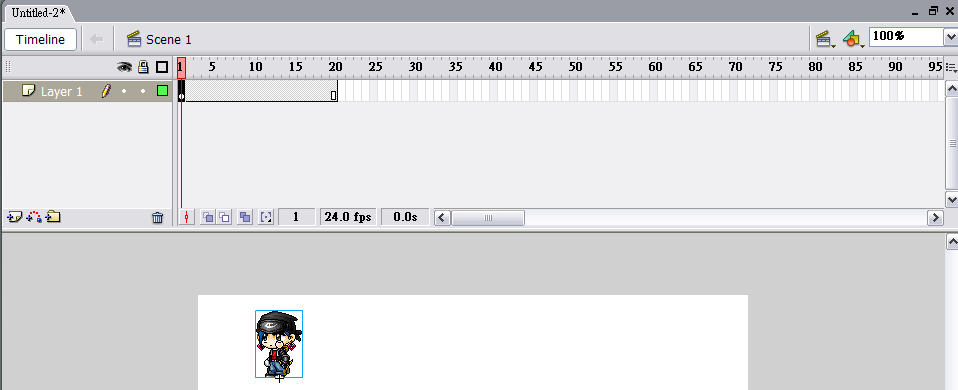
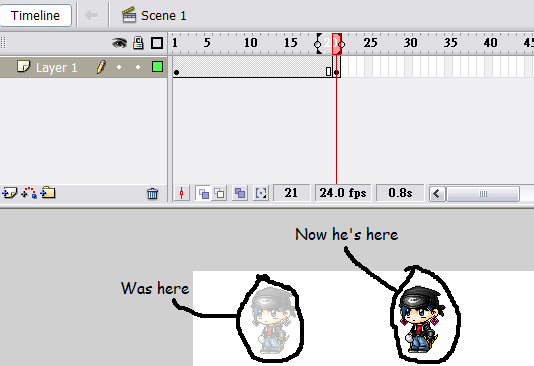
Keyframes
They are the frames that have a dot in them.
According to Flash, they are:
a frame in which you define a change to an object's properties for an animation or include ActionScript code to control some aspect of your document.
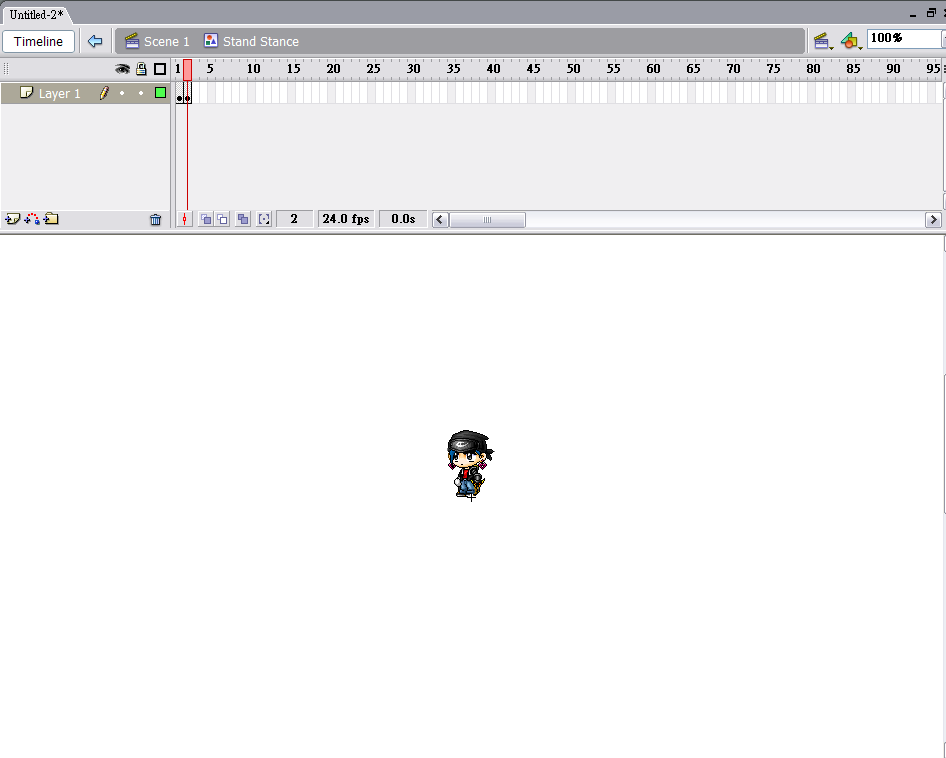
Basically, a keyframe is like a picture.
How do I explain this... each keyframe can hold something new. You can alter something in a keyframe without it affecting anything before it. So say in frame 1 I have Keyframe A. Keyframe A has a picture of a circle. In frame 2 is Keyframe B. Keyframe B will be a duplicate of Keyframe A, but I can do anything to it. I can change the circle to a square, and it won't affect Keyframe A at all.
They are like separators really. The separate what happened in one frame to another.
Bah, this is like impossible to explain.
If you used NeoPaint or Gimp or whatever, a Keyframe is a frame. Get it?
But the reason it is called a keyframe and NOT called a frame in Flash is because a frame has a totally different meaning in Flash.
--------------------------------
Frames
They have no dot in them and they are squares shaded in with gray.
Frames are the duration of a keyframe.
Adding frames to a keyframe will increase how long that keyframe lasts.
If you used Neopaint, a frame adds a few MS (milliseconds) to each frame.
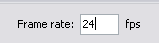
The duration of a frame varies, depening on the frame rate.
Since the frame rate in our animation is 24 fps, each frame is about 0.04 seconds or 40ms.
Have I made the definition of these clear?
If you still don't understand, keep reading on.
You might understand just based on what the guide is telling you.
================================================== ===============================================
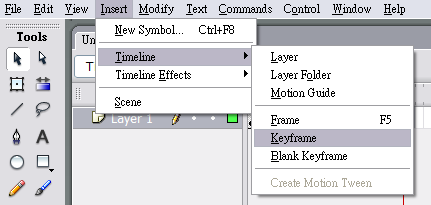
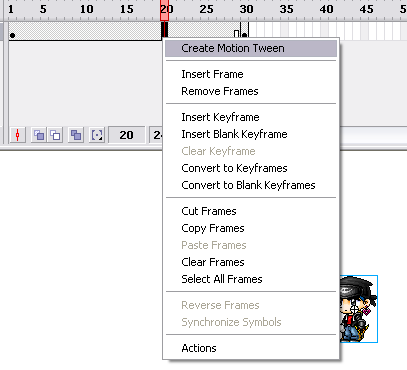
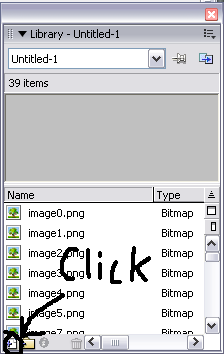
Now, to get a second sprite into the graphic, we will now create a new BLANK keyframe.
To do this, go to Insert > Timeline > Blank Keyframe (Keyboard shortcut F7).
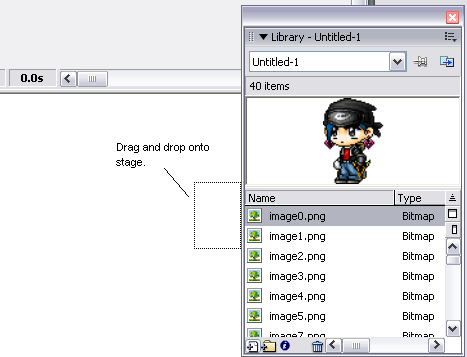
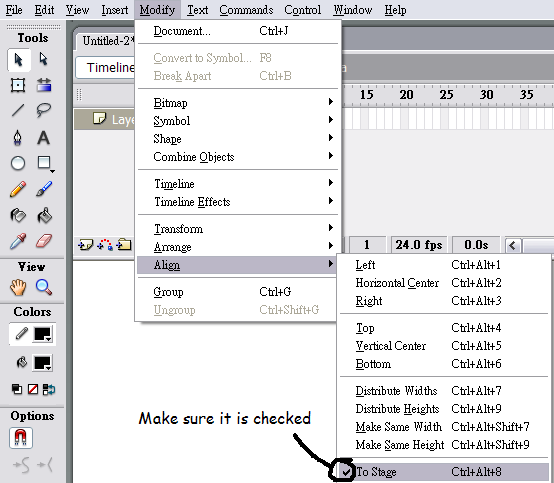
Now on this new keyframe, drag and drop your second sprite onto the stage.
Do the same as before, align the sprite.
REMEMBER KEYBOARD SHORTCUTS: CTRL+ALT+2 and CTRL+ALT+6
Now do the same for the rest of the sprites of the stance.
Which means I'm going to apply what we just did to Stand-Frame02 and repeat Stand-Frame01
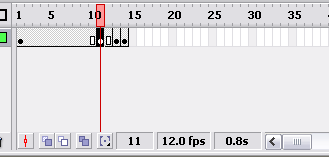
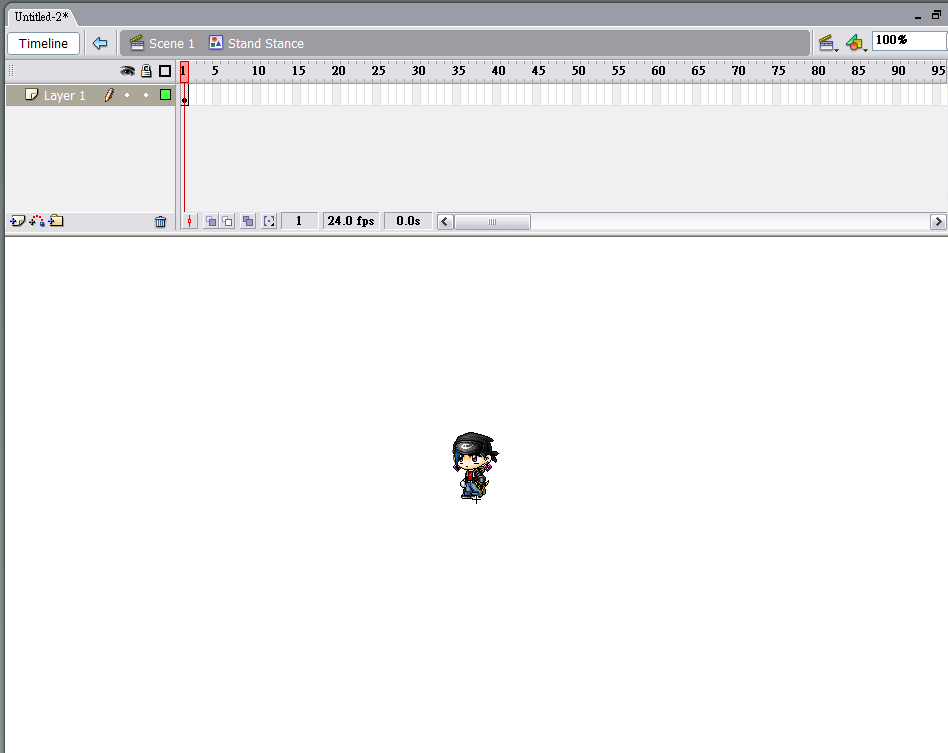
Now you should have 4 keyframes, each frame with one sprite on it.
In my case this is what I have:
Keyframe 1 = Stand-Frame00
Keyframe 2 = Stand-Frame01
Keyframe 3 = Stand-Frame02
Keyframe 4 = Stand-Frame01
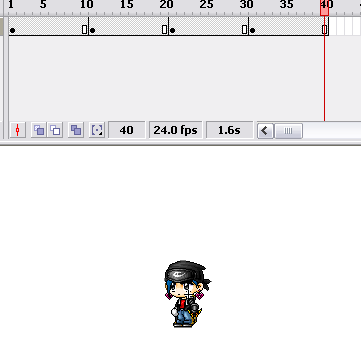
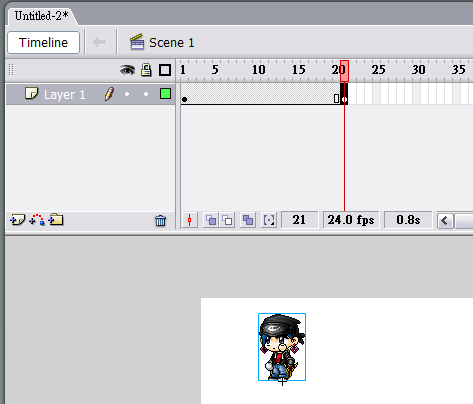
Highlight the first key frame and insert 9 frames.
You can do this by going to Insert > Timeline > Frame (Keyboard shortcut F5)
This'll increase the length of the first keyframe, which means Keyframe 1 now lasts for 10 frames long (0.4 seconds).
Do the same for the other 4 keyframes.
Now you have a graphic with a stand stance in it. Congradulation.
Try to apply your skills and create a Walk Stance graphic.
You use the EXACT SAME THING you just learned except replace the stand sprites with walking sprites.
Also, each keyframe only needs to be 3 frames long (which means you insert 2 frames to each keyframe).